Funnily enough this is a question that we often get asked. Glasses are now so common that we probably don’t even notice them when meeting someone for the first time. It is now thought that up to 75% of all Americans wear glasses to help correct their vision, but very few people ever stop to consider the scientific reason behind why they are wearing glasses.
We are going to look at why someone might need to wear glasses and the science behind how it actually works.
So let’s start at the beginning…
Most of us are lucky enough to have two eyes. The eyes themselves don’t actually ‘see’ however it is the brain that sees and the eyes can be thought of as the cameras that capture the image. In order to see the image in front of it, the eyeball needs to have the light that enters it focus on a very exact spot called the retina inside the eye. The surface of the retina is curved and there are a series of things that must occur before you can process what you are seeing;
When this process does not happen, the light is focused on the wrong place or the image cannot be curved to match your retina, it can make your vision blurry.
Your vision can be blurry whether you are looking at something close to you (far sighted) or when things are far away (short or near sighted). For short- or near-sighted people this means that they cannot focus on things like street signs, or a cinema screen without using glasses. For far sighted people, the opposite is true, these people cannot focus on things up close to them so reading a book or scrolling on their mobile phone will cause their eyes to be blurry.
Glasses help to correct this by causing the light to focus on the exact spot that it needs to.
It is true that as you get older, you will likely need glasses to help you to see things – this is because the lens of your eye becomes less flexible and requires some assistance to help you focus.
The lens is located between the retina and the pupil (the dark hole in the centre of your eye that allows light into the back of the eye) and is covered by a transparent covering called the cornea.
The lens and the cornea must work together to focus the image onto the retina. As you will have read when these things don’t occur you can get blurry vision however there are other reasons that you might not be able to see correctly and have blurry vision. These can include:
Of course, you don’t need to be old to need glasses; this is becoming more frequent in the younger population as time goes on.
Scientists believe this could be due to the increase of technology and the amount of screen time a child has, or it could be that we are no longer outside as much as we were in previous generations and so our exposure to sunlight is reduced and therefore so does the capacity of our eyes.
Common Vision Problems
Most of us will experience one or more of the below at some stage in our lifetime. We have already mentioned far sighted and near sightedness but what actually causes these?
Myopia (near-sightedness) occurs when a distant object (such as a street sign or cinema screen as examples given previously) looks blurred. This is because the image that you are trying to see comes into focus before it reaches the retina. Myopia can be corrected with a minus lens, which moves the focus farther back in the eye (more on this later!) Convex lenses correct near-sightedness by refracting the light toward the bottom and the top of the lens so it pushes the light farther back into the retina.
Hyperopia (farsightedness) occurs when a close object looks blurred (such as a book or your mobile phone). This is because the image doesn’t come into focus before it gets to the retina. Hyperopia, can be corrected with a plus lens, this is mostly common as we get older but can also affect children. Concave lenses correct hyperopia by spreading the light away from the centre of the lens, moving the focal point farther forward.
Astigmatism is caused by a distortion that results in a second focal point. It can be corrected with what’s known as a cylinder curve. If you have astigmatism, it will be listed on your prescription with a CYL reading in the noted box.
Each one of the conditions above can be corrected using the correct prescription from your optician.
How Do Lenses Work?
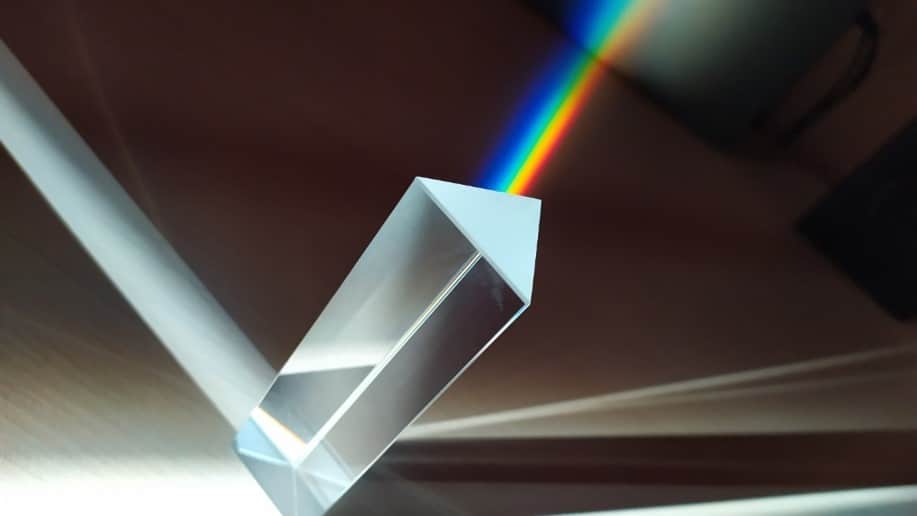
At some stage, we have all carried out experiments in school with prisms.
The simplest way to explain how light moves through a lens is by relating it to a prism. Light passing through a prism will bend (or be refracted) towards the thickest part.
In the case of those with hyperopia (farsightedness), glasses are used to see things up close such as the reading or mobile phone example we gave earlier. A plus lens is used to correct hyperopia by moving the focal point forward, this is done by the plus lens being thickest in the middle, so that it bends light toward the centre. As the strength of a plus lens increases, the focal point becomes shorter.
For those with Myopia, a lens must move the focal point forward and so a minus lens is always thickest at the edges and thinnest in the middle. This causes the light to spread out from the middle of the lens and aids to correct the vision. The stronger the lens, the farther the focal point is from the lens.
Placing the correct type and power of lens in front of the eye provides the eye with a new focal point which will compensate for the blurry vision and focus the image on the retina allowing the person to see clearly.
For astigmatism, vision for both near and far objects will be seen as blurry so lenses for all distances are used. A cylindrical lens is used to focus light into a line instead of a point (such is the case in a spherical lens), creating one focal point instead of two. This will adjust the focal point and allow the wearer to focus clearly.
Determining Lens Strength
Each of us will require different strengths of lenses depending upon what measurements an optician will provide to you on your prescription.
Lens strength is typically expressed as diopters (D), which indicates how much of the light is bent. The higher the diopter reading, the stronger the lens. We must also consider that a plus (+) or minus (-) before the diopter strength indicates the type of lens.
There are also several factors that affect lens strength, these are; the material that a lens is made from and the angle of the curve that is required.
Lens Shapes
There are two lens shapes commonly used in the making of glasses: spherical and cylindrical.
• A spherical lens takes the shape of a football cut in half. The curve is the same all over the surface of the lens.
• A cylindrical lens looks like a pipe cut lengthwise. As mentioned previously, cylinder curves are used to correct astigmatism, as the axis can be made to match the axis of the aberration on the cornea allowing for the light to be focused on the retina.
How to Make Lenses
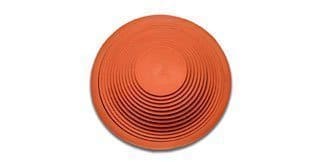
In order to make a pair of lenses, first you must start with a lens blank. These blanks are typically made in glass factories, such as Schott Glass, Germany and brought to individual labs to be formed into lenses for glasses.
The lens material is poured into moulds, which are curved at the bottom. When the materials are poured in, this forms a disc of around 4 inches in diameter and around 1.5 inches thick. If the lens is to be a bifocal or varifocal then a smaller segment with a stronger curve can be inserted to make the additional power needed for bifocals or varifocals.
Lenses can be made from a variety of Lens materials, which typically include plastic or glass and most manufacturing processes incorporate 12 steps when making them. We have set the individual steps out below to show you the process.
Step 1
A lab technician will use your prescription to determine which lens blank he or she must use to create the correct prescribed power. They will typically choose a segment (called an add) and a base curve which closely matches what you will require at the end of the process. To ensure that the lens blank they have chosen will match your prescription, another curve will be ground on to the back of the lens to allow you to see clearly.
Typically, labs are set up with equipment that will grind minus curves and so a lab technician will choose a strong plus lens when starting. If the base curve is too strong for what is needed a minus curve is then ground into the back of the lens black. This will reduce the total power of the original lens and work towards matching your prescription.
Step 2
If you prescription has a CYL reading on it, you will require a cylinder to be ground into your lenses. It is normal for a line to be drawn on the front of the lens which will mark out 180 Degrees and the AXIS reading of your second curve will also be marked on the lens.
Step 3
The technician will then cover the lens with a protective covering on the front, which will help protect it in the next steps to come.
Step 4
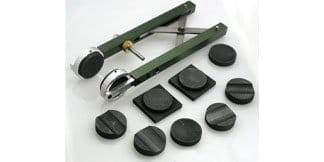
A generator, also known as a compound grinder is then used to grind curves into the back of the lens. This machine can be used for both spherical and cylinder curves
This is done using a chuck receiver or lens block which is attached to the front of the lens so it can be held in place within the generator.
The centre of the chuck receiver will become the optical centre of the lens.
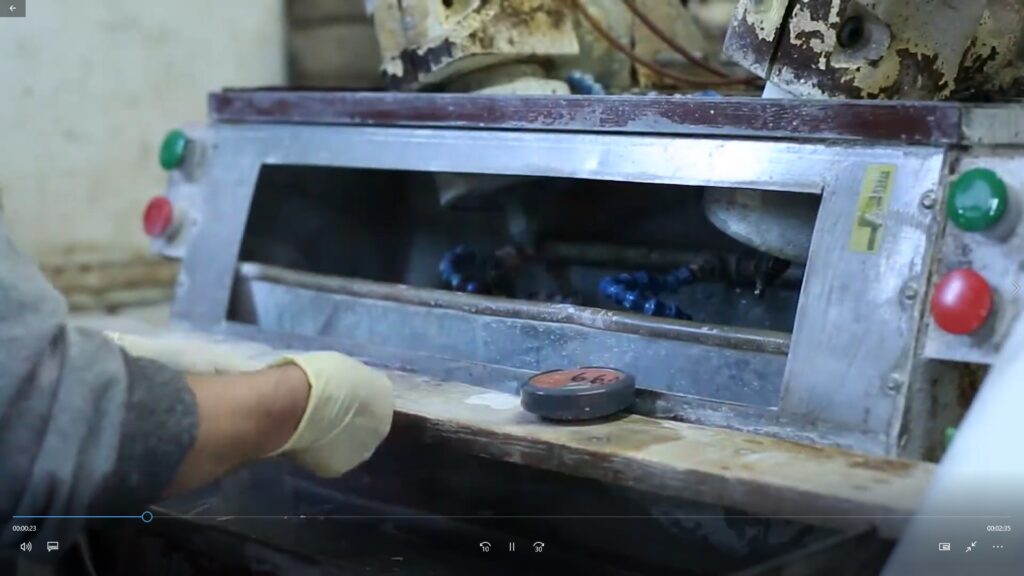
Step 5
The lens, now attached to the chuck receiver or lens block is then placed into the compound grinder and pins are used to align the lens. Within the grinder is a cone shaped grinding wheel also known as a quill. This is lined with a diamond surface along its outer edge and is angled so that only the outside edge will come into contact with the lens.
Step 6
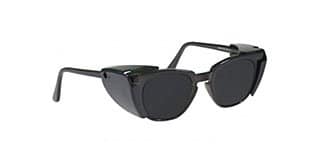
The curves are inputted into the machine from your prescription and the lens is ground into the shape required. Typically this process is an automated one but there are still some companies who do this by hand. The lens is ground down to the required thickness which is determined by either a plus or minus curve, and the lens material being used. The safety glasses that we make are made thicker as they will have to withstand various impact in order to be classed as safety glasses. The whole process is cooled by water which stops the lens from becoming too hot, where it might warp or tear, the water also helps to wash away any material that is left over from the grinding process.
Step 7
Once the lens is finished in the grinding machine it is then transferred to a sanding machine which is also known as a cylinder machine.
The sanding process will help to remove any marks left by the grinding machine. Sandpaper is glued onto a sanding block with matching reversed curves and rubbed together until the marks are removed. This is usually determined by a set a period of time and again water is used to both cool and clean the lenses.
The next step in this process is to transfer the lenses into a polishing machine which is identical to the sanding one only it is fitted with polishing pads instead of sandpaper.
The lenses are polished using liquid polish which is allowed to run over the lenses and collected in a reservoir at the bottom for reuse. Once this step is completed the lenses should be optically clear with no scratches or visible distortions.
Step 8
This step involves inspecting and cleaning the lenses to ensure that they are perfect. The lens blank still has the curves ground into the back of it and the blank will still have to be sized to the glasses that they are being fitted to.
Should coatings be required on the lenses, this is the stage that this will occur.
Step 9
The blank is then shaped using an edger (or linear lathe) which can be fitted with either a diamond or ceramic grinding wheel or alternatively stainless steel blades. Similar to Step 4 a small chuck receiver is fitted to the lens to hold it in place during this process. The chuck is fitted to the centre where the finished lens will be and the lens is then turned on a 180 degree axis. Held between the chuck and a pressure pad, the lens is then turned to edge it in the correct shape for the frame.
Step 10
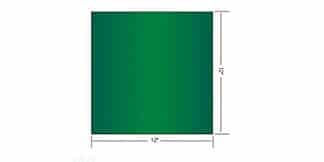
To allow the lens to be edged correctly a pattern matching the shape of the required frame is also fitted to the edger. The pattern is shown in red in the edger to outline the eventual shape of the lens. Patterns can be made by the lab in question or may be supplied by the manufacturer of the frame.
The use of modern technology has overtaken some processes in this case, with newer edging machines using probes to determine the outline and they no longer use plastic patterns which need to be fitted. This information can then be stored by a computer and reused when required.
The lens is cut by slowly turning the lens against a fast moving grinding wheel or stainless steel blades. If the frame has a full rim around the lens, the edge of the lens will be bevelled so that it fits exactly to the frame and this mechanism then holds it in place. If the frame is semi rimless or rimless then the lens will be left flat.
Step 11
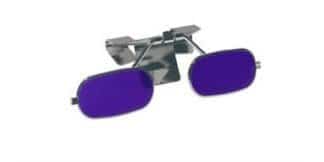
The lenses are now ready to be fitted to the frame. If there are any tints or colours to be applied, they will be applied at this stage.
Colours and tints are used to change the colours of the lenses and provide a new look to the finished product. There are many colours and tints to choose from and some can have benefits for outdoor work or computer work.
The dyes to do this are kept in heated containers and the lenses are placed within the liquid dyes. The lens will be left in the dye depending on what type of tint is required for example if a lens is only to be partially tinted it will be left for a shorter time than one that is to be fully tinted. Tints can include full custom colours, different colours at the top and the bottom or just partially tinted depending on the customers’ requirements.
As mentioned in Step 10, if a frame is rimless the lens has been left flat – it is at this stage that a groove will be cut into the lens to allow a piece of string to be fitted which will work to hold the lenses in place.
Any remaining sharp edges will be smoothed off at this stage.
Step 12
The finished lens can now be fitted to the frame. This process is done by heating the frame slightly so that it become pliable and squeezing the finished lens into the bevelled edge. The fit will then be checked to ensure the lens are securely in place before being cleaned and sent out to the customer.